Welcome, tea enthusiasts, to the enchanting world of Kombucha! If you’re eager to embark on a Kombucha-making adventure and want to learn how to cultivate your very own SCOBY (Symbiotic Culture of Bacteria and Yeast), you’ve come to the right place. In this informative guide, we’ll take you through the fascinating process of making a healthy and robust SCOBY. So, gather your supplies and get ready to witness the magic unfold!
Gathering Your Materials
Before diving into the SCOBY cultivation process, ensure you have the following items:
- Quality Ingredients:
- Organic Tea: Choose black or green tea, as they work best for SCOBY formation.
- Sugar: Opt for organic cane sugar or white sugar to provide the necessary nutrients for the SCOBY.
- Water: Use filtered or distilled water to avoid any contaminants.
- Equipment:
- Glass Jar: Find a clean, wide-mouth glass jar to accommodate the SCOBY and liquid.
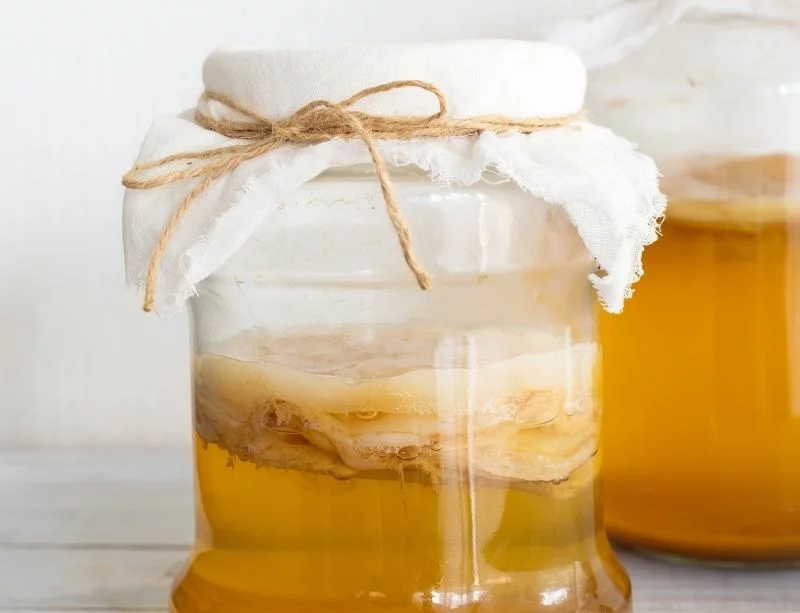
- Breathable Cover: Use a tight-weave cloth or coffee filter to cover the jar and allow airflow.
- Rubber Band: Secure the cover tightly in place with a rubber band.
- pH Strips: These will help monitor the acidity levels during the SCOBY cultivation process.
Make Your Kobumcha SCOBY
- Prepare the Tea:
- Bring water to a boil and remove it from heat.
- Add tea bags or loose tea to the hot water and steep for the recommended time.
- Remove the tea bags or strain the loose tea and stir in the sugar until it dissolves completely.
- Cool Down the Tea:
- Allow the sweetened tea to cool to room temperature.
- It’s crucial to work with cooled tea to prevent any damage to the SCOBY.
- Introduce the Starter Liquid:
- Add a small amount (around 10% of the total volume) of store-bought unflavored Kombucha to the cooled tea.
- The starter liquid contains the necessary bacteria and yeast for SCOBY development.
- Combine the Tea and Starter Liquid:
- Pour the sweetened tea and starter liquid into the glass jar.
- Ensure the jar is clean and sanitized to prevent any unwanted bacteria or mold growth.
- Cover and Cultivate:
- Cover the glass jar with the breathable cover, securing it with a rubber band.
- Place the jar in a warm, well-ventilated area away from direct sunlight.
- Allow the mixture to ferment for approximately 7 to 14 days.
- Check the pH of the liquid periodically using pH strips, aiming for a pH of around 4 to 5.
- SCOBY Development:
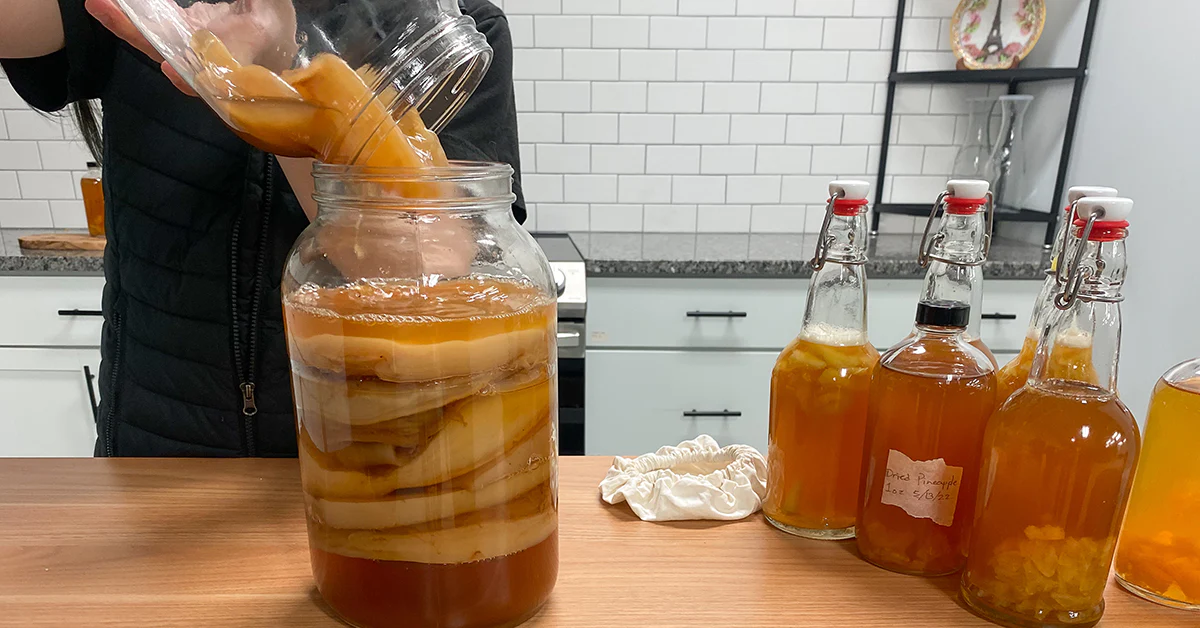
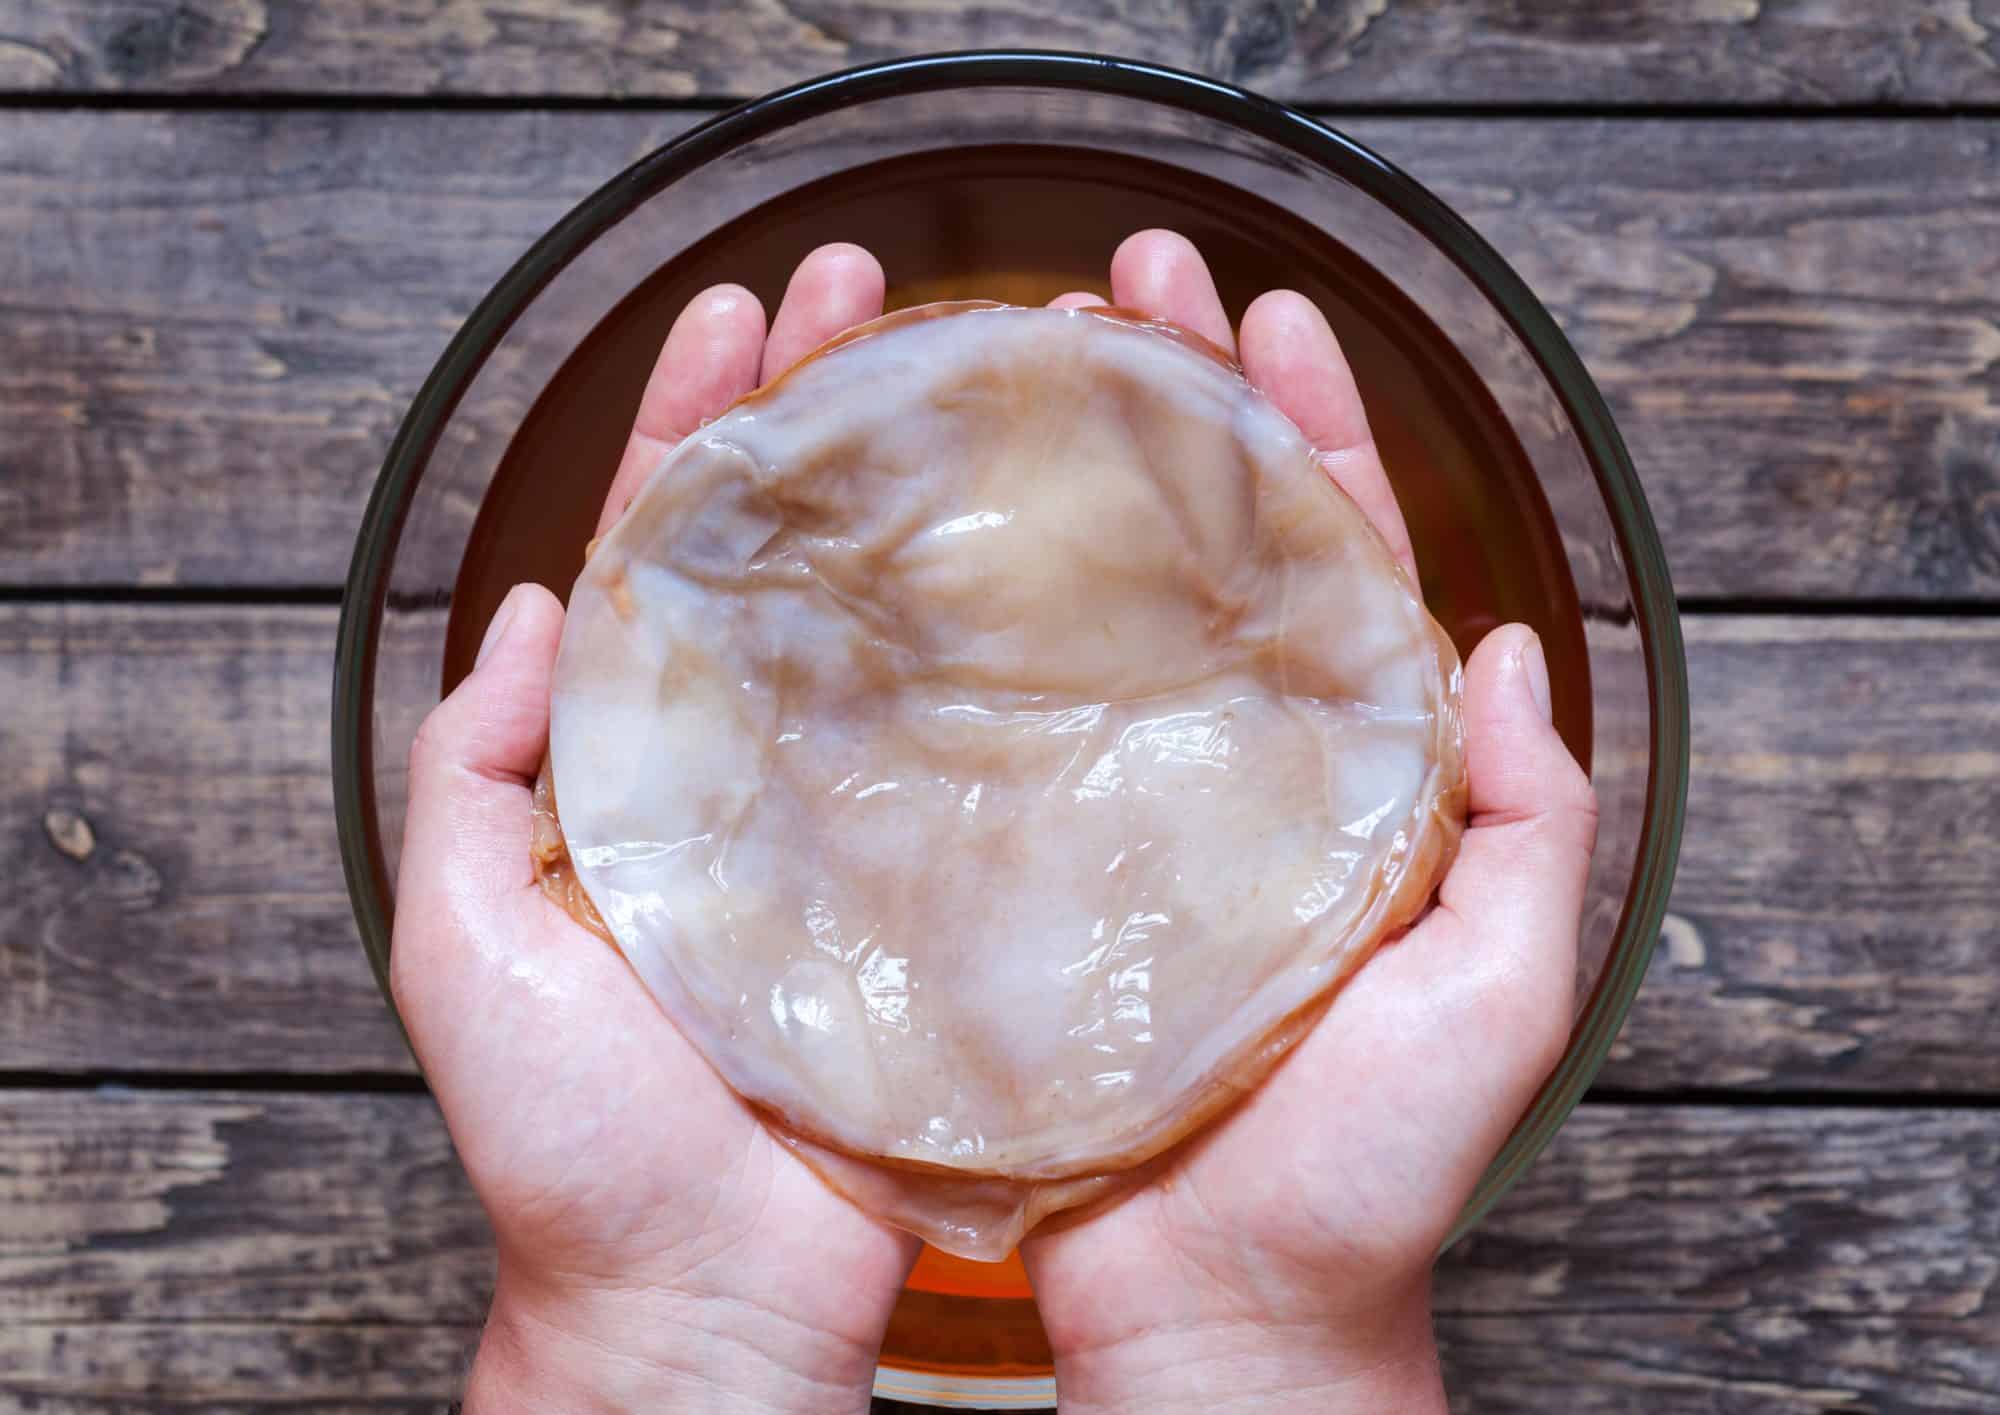
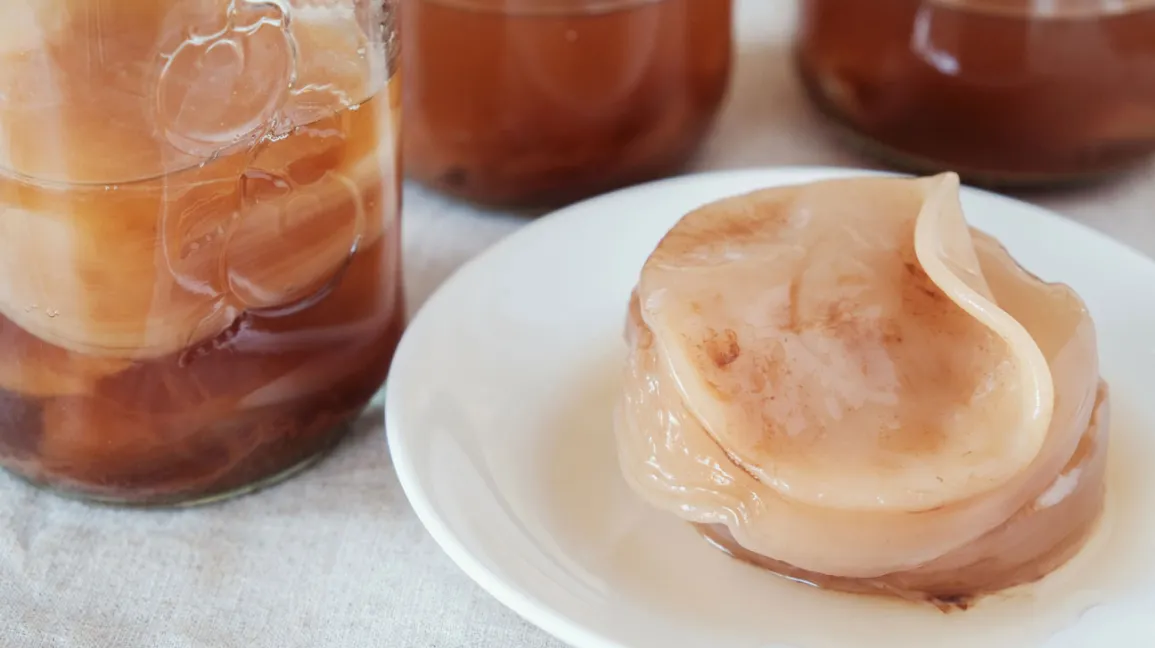
- Over time, a thin, rubbery film will form on the surface of the liquid.
- This is your SCOBY! It may appear as a cloudy layer, bubbles, or even float sideways – each SCOBY is unique.
- SCOBY Care:
FAQs:
- How long does it take to grow a SCOBY?
The SCOBY cultivation process usually takes 1 to 3 weeks, depending on environmental conditions and the strength of the starter liquid. - Can I use a store-bought SCOBY instead of growing my own?
Absolutely! If you’re eager to start brewing Kombucha right away, you can purchase a SCOBY from a reputable source and skip the cultivation process. - What if my SCOBY doesn’t form or looks unusual?
Sometimes, SCOBY take longer to form or may develop differently. If you encounter any issues like mold growth or an off-putting smell, it’s best to discard the batch and try again.
Conclusion:
Congratulations, tea aficionados! You have successfully unlocked the mystery of cultivating your very own Kombucha SCOBY. With patience and care, you can now embark on a journey of brewing your own delightful Kombucha creations. Witness the transformation from sweet tea to tangy elixir as your SCOBY works its magic. Enjoy the process and embrace the joy of homemade Kombucha!
Fun Fact:
Did you know that the term “SCOBY” is an acronym for Symbiotic Culture of Bacteria and Yeast? It’s a living community that thrives on sugar and tea, turning them into the marvelous elixir we call Kombucha!
Originally posted 2023-07-10 10:53:42.


